
DIY Photo Booth Setup: Tips and Tricks from the Pros
GS
Introduction to DIY Photo Booths
Creating a DIY photo booth can be a fantastic addition to any event, adding fun and excitement while capturing memorable moments. Whether you're hosting a wedding, birthday party, or corporate event, setting up a photo booth doesn't have to be complicated or costly. In this post, we'll share some expert tips and tricks to help you set up a photo booth that guests will love.
Choosing the Right Space
The first step in creating a successful DIY photo booth is selecting the right space. Look for an area that is easily accessible to guests but not in the way of main event activities. Ensure there's enough room for the booth setup and for guests to gather without feeling cramped. Consider the lighting in the area; natural light is ideal, but if that's not an option, make sure to have adequate artificial lighting setups.
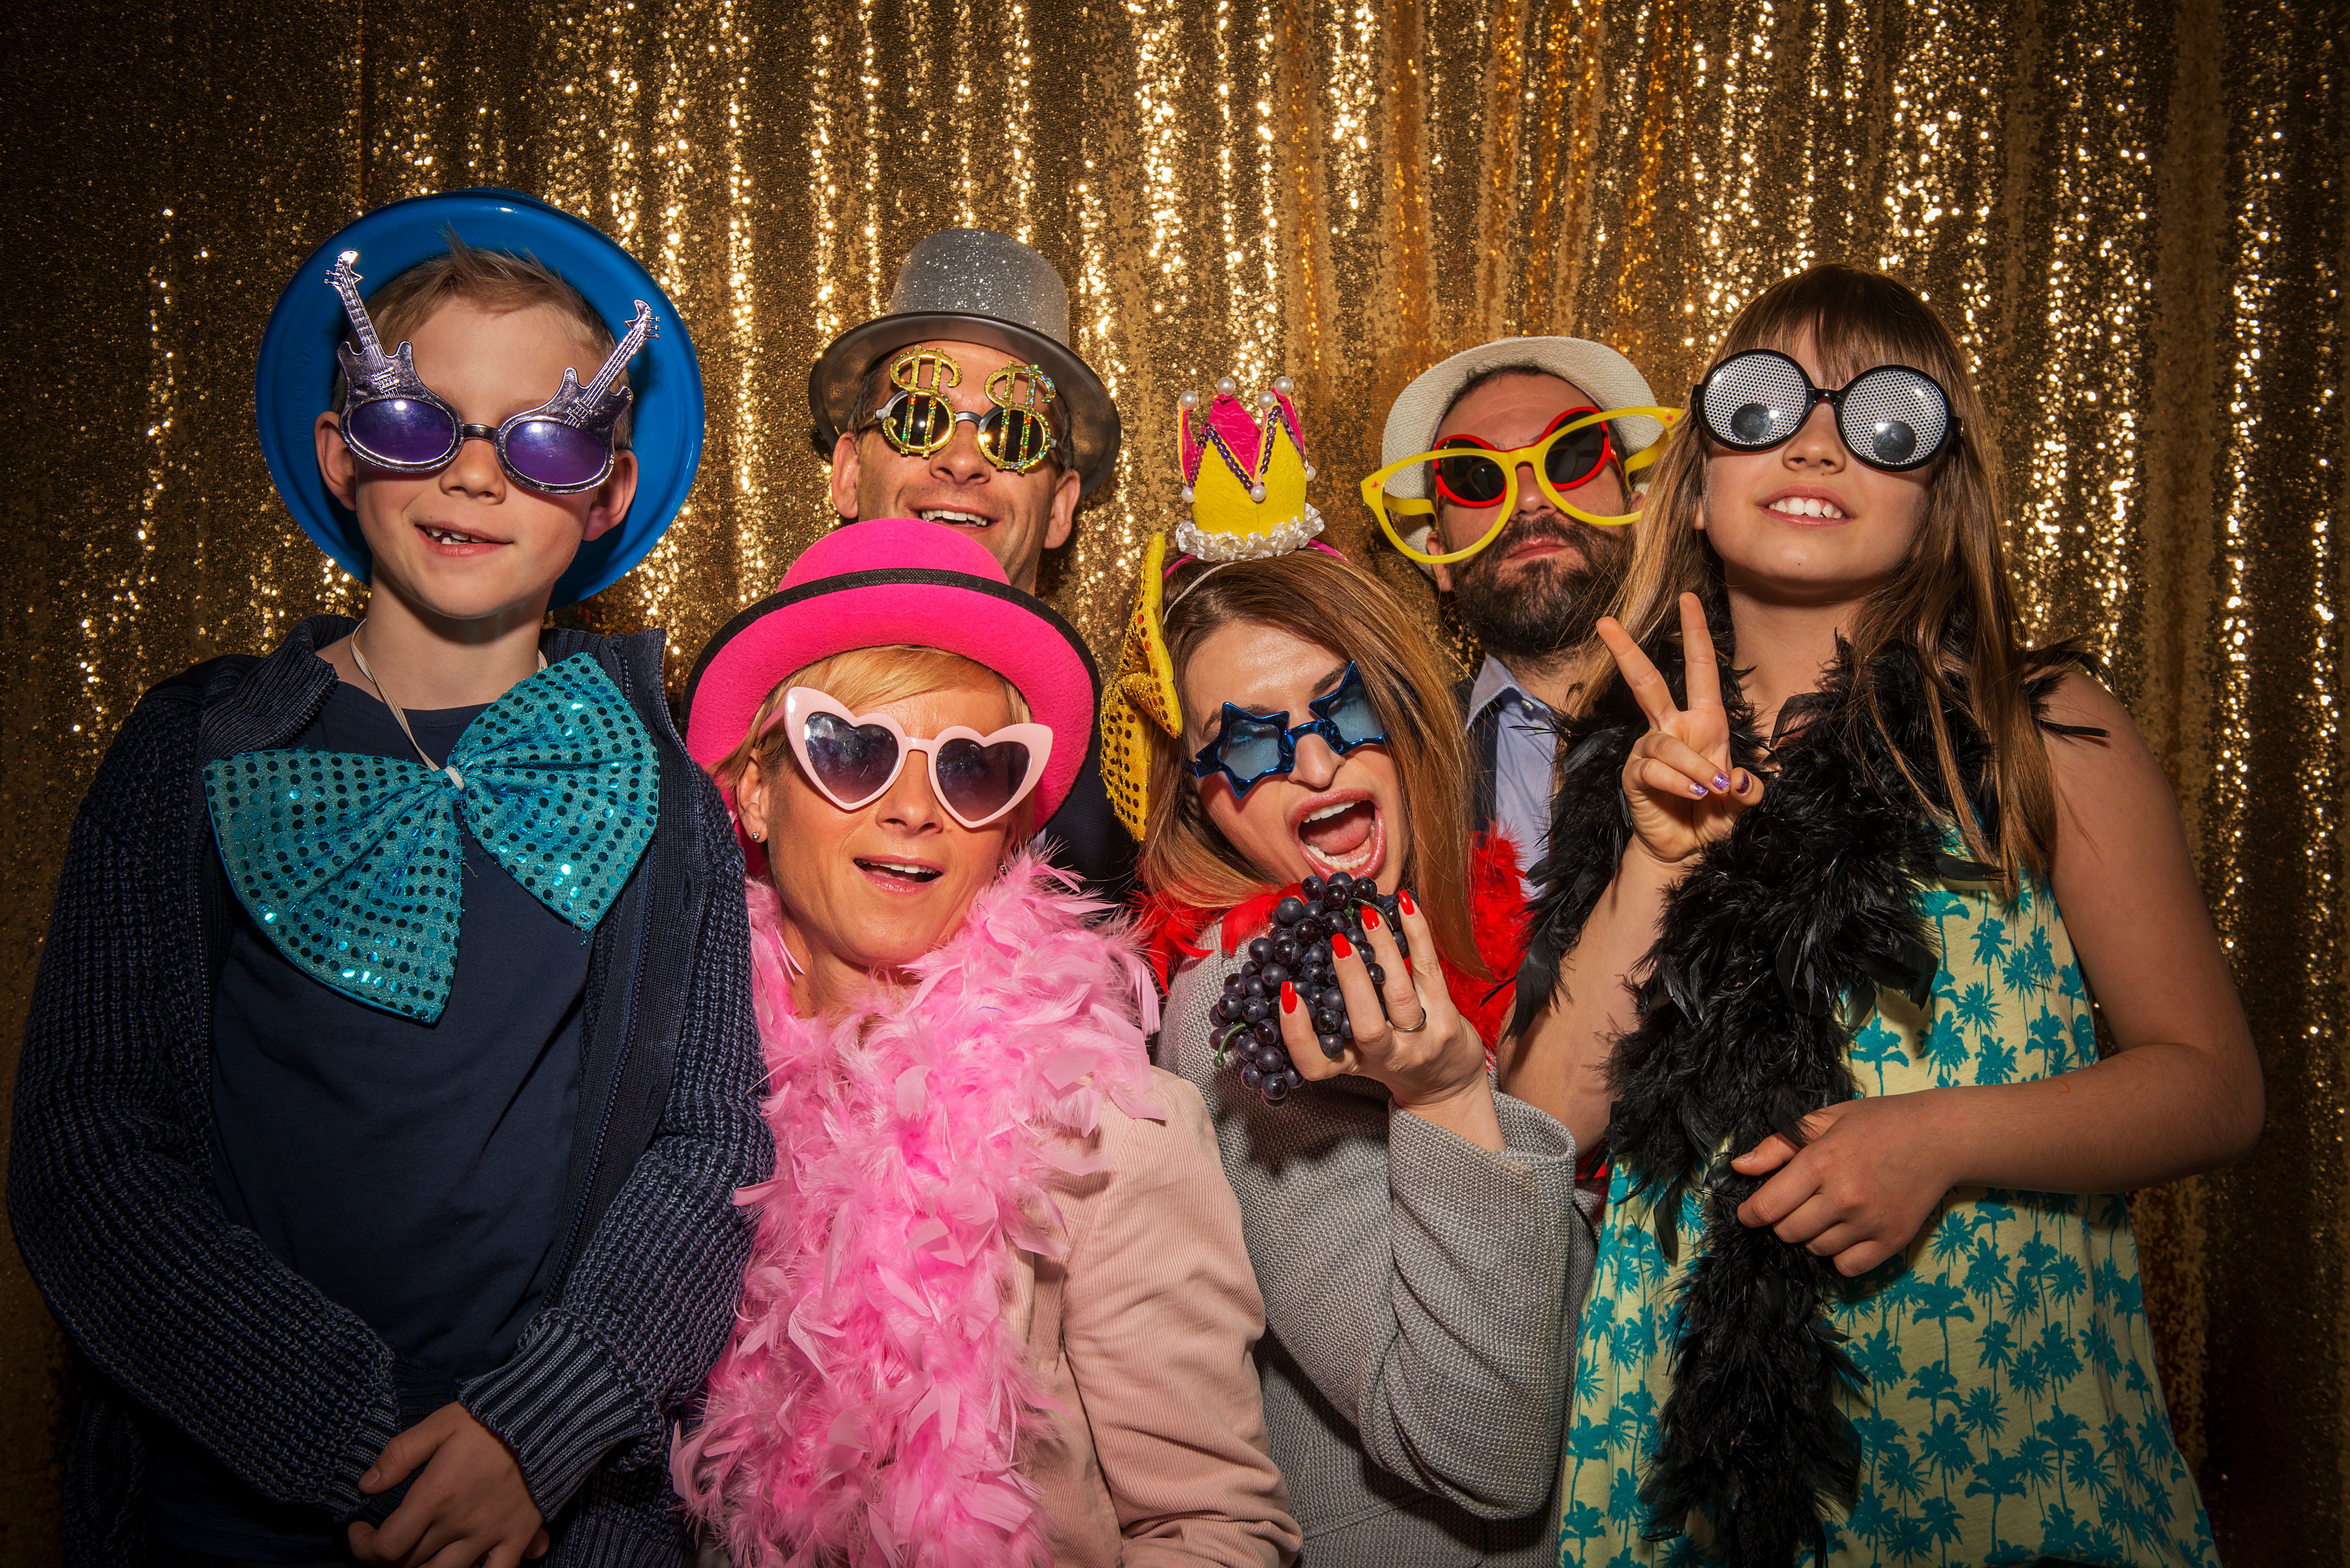
Backdrop Ideas
Your backdrop sets the stage for your photo booth and contributes significantly to the overall theme. For a simple yet effective backdrop, you can use a large piece of fabric or a decorative curtain. If you're feeling more creative, consider crafting a backdrop with paper flowers, balloons, or even a chalkboard wall where guests can write messages.

Essential Equipment
A successful photo booth requires some essential equipment. Here's a list of must-haves:
- Camera: A DSLR or high-quality smartphone camera works well.
- Tripod: Keeps the camera steady and at the right height.
- Lighting: Ring lights or softboxes provide even lighting.
- Printer (optional): For instant photo prints.
If you want to take it a step further, consider using a remote shutter for easy photo-taking or incorporating a tablet with photo booth software to streamline the process.

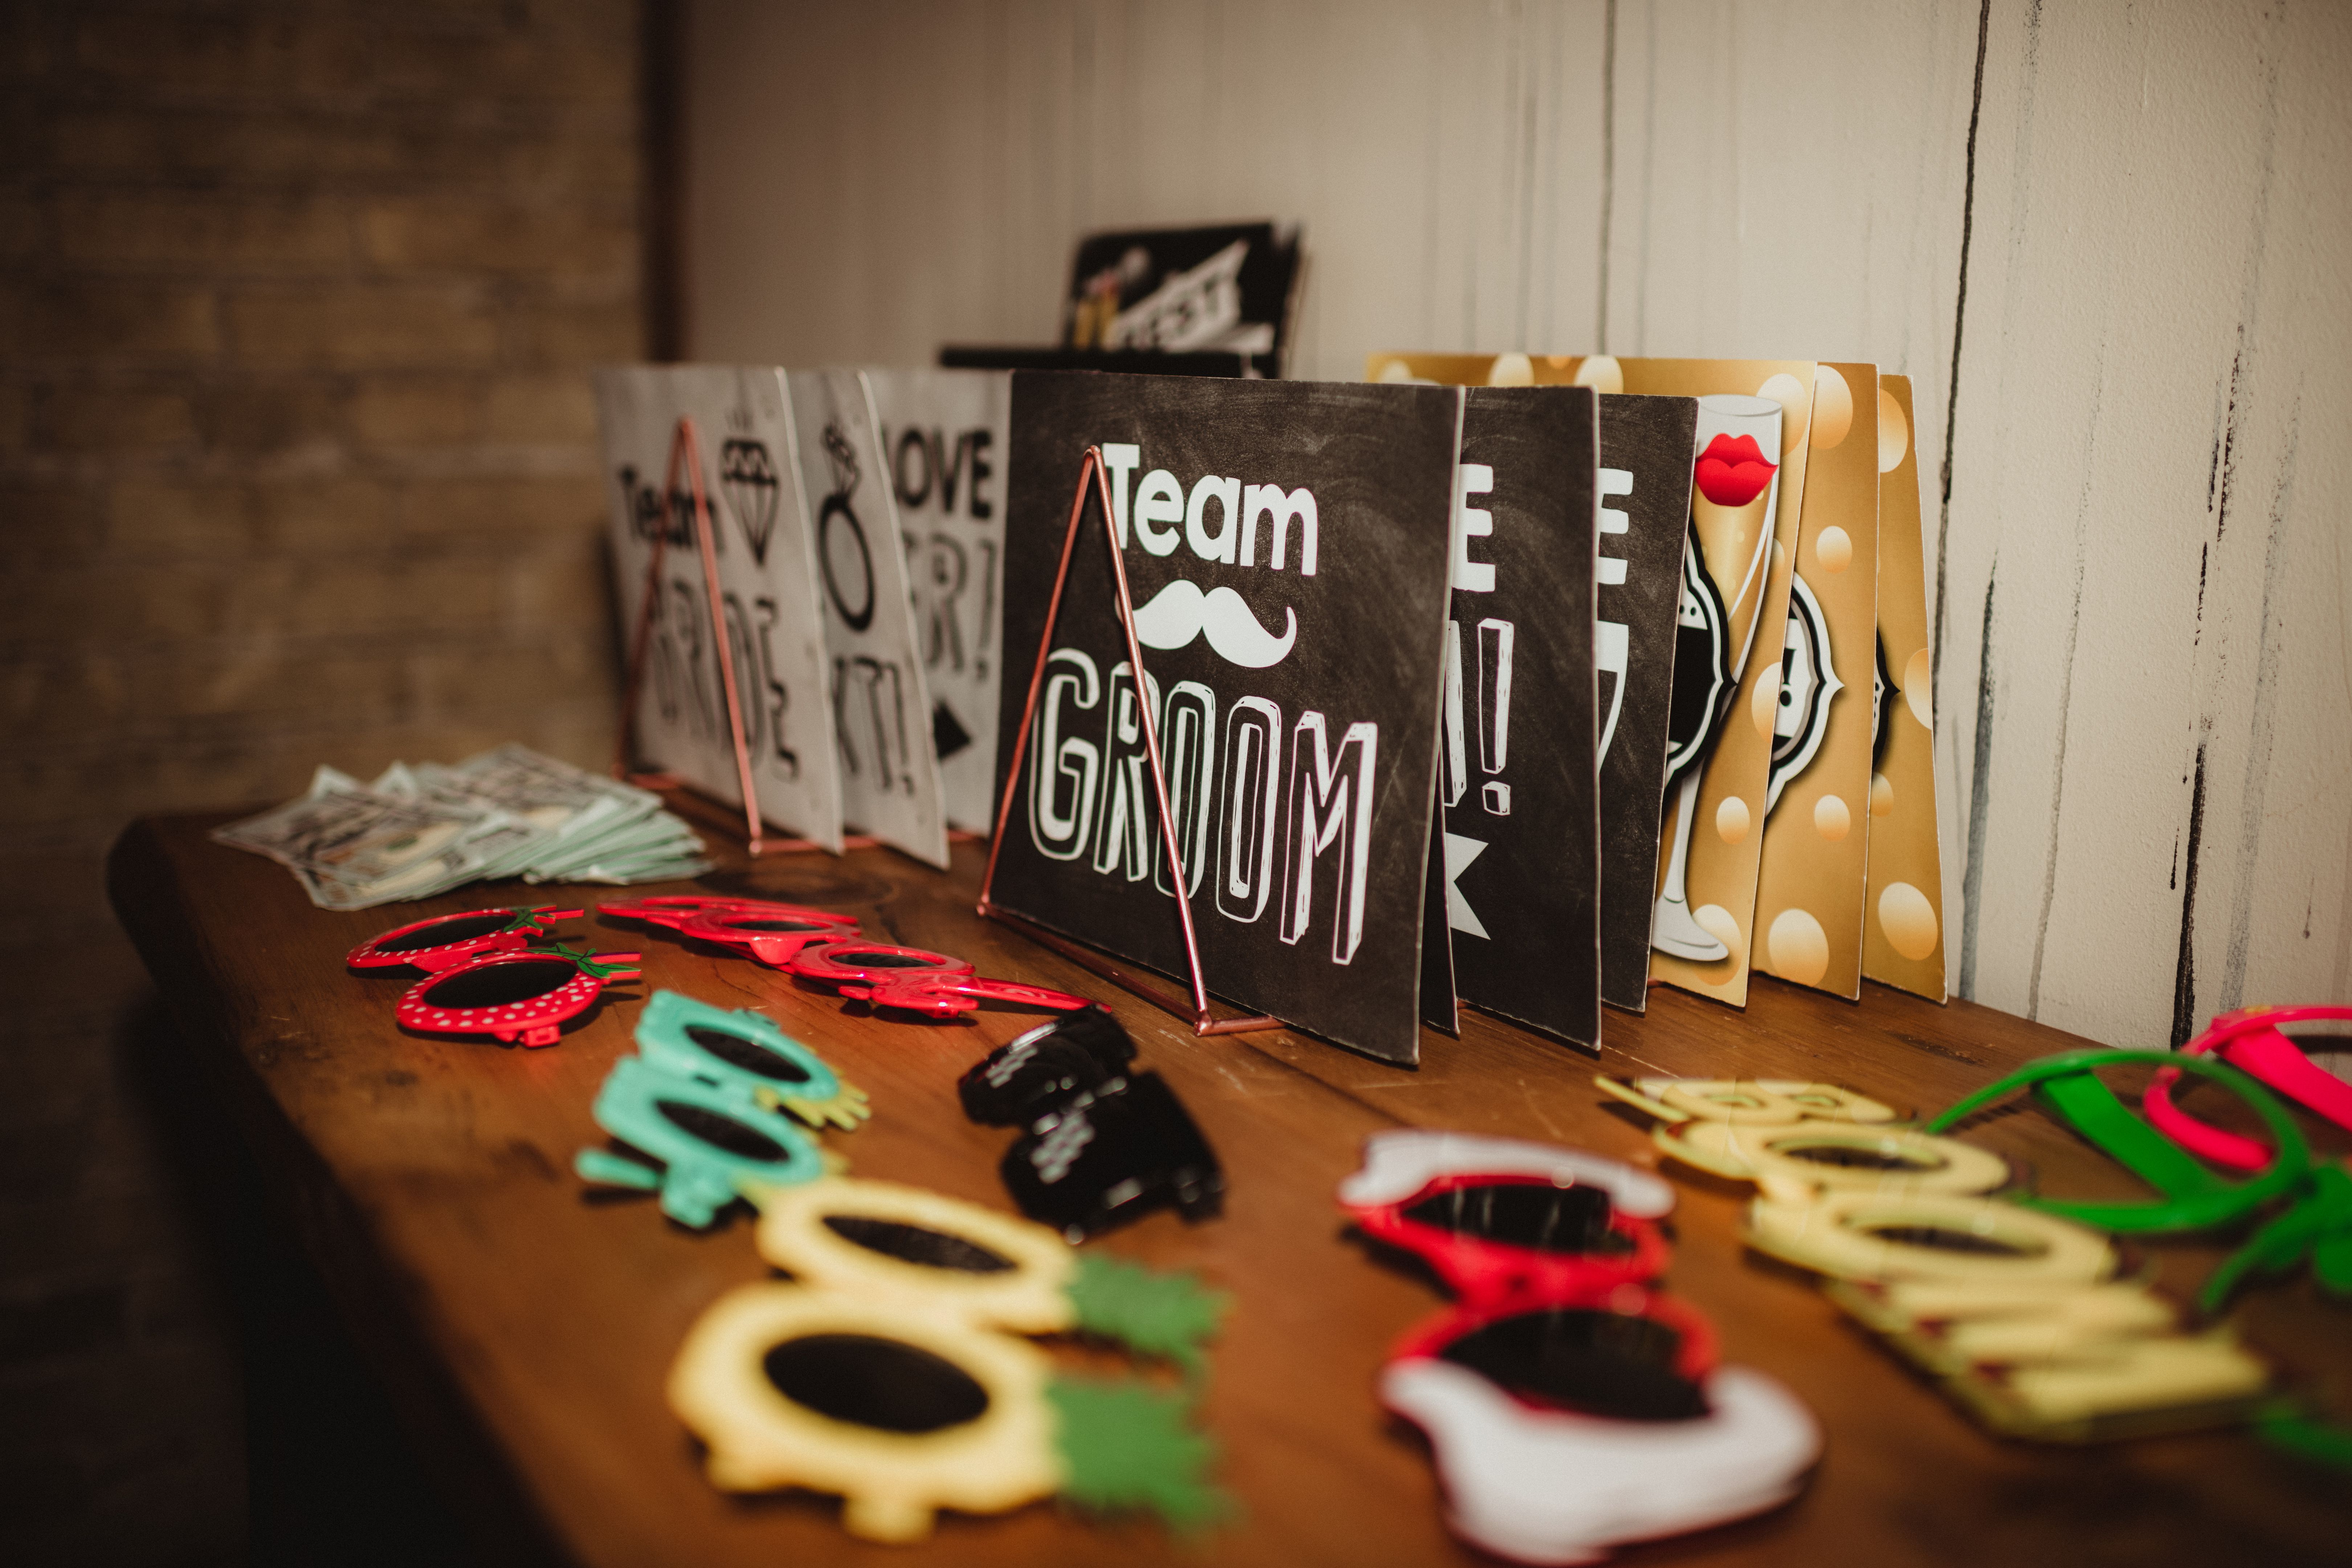
Prop Selection
No photo booth is complete without fun props! They add an extra layer of enjoyment and creativity for guests. Consider including:
- Hats and wigs
- Glasses and masks
- Funny signs and speech bubbles
- Themed items related to your event
Display the props in an organized manner so guests can easily find what they want to use. A small table or decorative basket works well for this.
Setting Up and Testing
Once you've gathered all your equipment and props, it's time to set up your photo booth. Assemble everything in the chosen space and make sure everything is secure. Test the camera and lighting beforehand to ensure the photos will look great. Make any necessary adjustments to lighting angles or camera settings based on your test shots.
Troubleshooting Common Issues
If you encounter any issues, such as blurry images or poor lighting, don't panic. Adjust your camera settings, reposition lights, or move the backdrop for better results. Having a few extra tech accessories like additional lighting options or camera lenses can be helpful in solving any last-minute problems.
Encouraging Guest Participation
The success of your photo booth largely depends on guest participation. Encourage people to use it by placing it in a visible area and having someone available to guide them if needed. You can also create a hashtag for your event so guests can share their photos on social media, adding an interactive element to the experience.
With these tips and tricks from the pros, you're well on your way to crafting an unforgettable DIY photo booth experience that will captivate your guests and create lasting memories. Enjoy the process and don't forget to take some photos yourself!